


OK, so like many of you out there my friend is getting married and being a bridesmaid I was recently involved in planning her Hen Party. Immediately the question comes are we going stippers and pink sashes or another direction. And if we’re going another direction what alternatives are out there?!?
This got me thinking ‘why do we accept that weddings are beautiful but hen parties are often throwaway events with little or no uniqueness involved?’
Knowing my friend since we were kids playing in the Wicklow hills I knew she wanted girls dancing in flower meadows rather than high heels on tarmac, so we decided to go controversial and create our own Hen style. Horizon love to go different so they were quickly on-board to bring the event together with some well designed print.
Here’s the five steps to how we did it. It takes a little more time than walking into shop and buying a load of pink hats but it’s so much more special. Shock horror, you may actually find you want to add photos of it to your wedding album rather than the usual untagging yourself from bad Facebook uploads.
Making your Hen Party Classy
Step 1 – picking a venue and activities
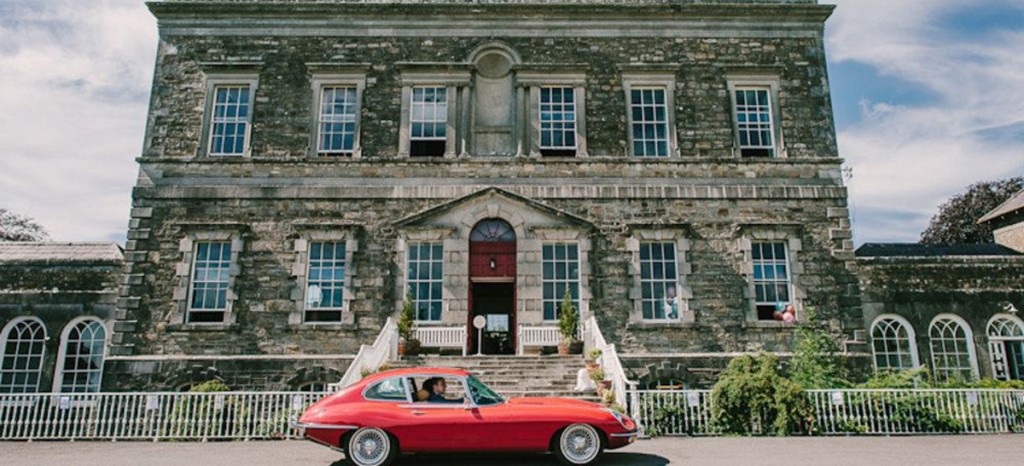
I definitely think your venue is one of the most important choices when you’re planning any event. Getting a place that is naturally amazing will make your job so much easier. After that everything you do is a bonus and it will have the right backdrop to shine. We chose the beautiful Bellinter House with all its old-world glamor and wonderful grounds.
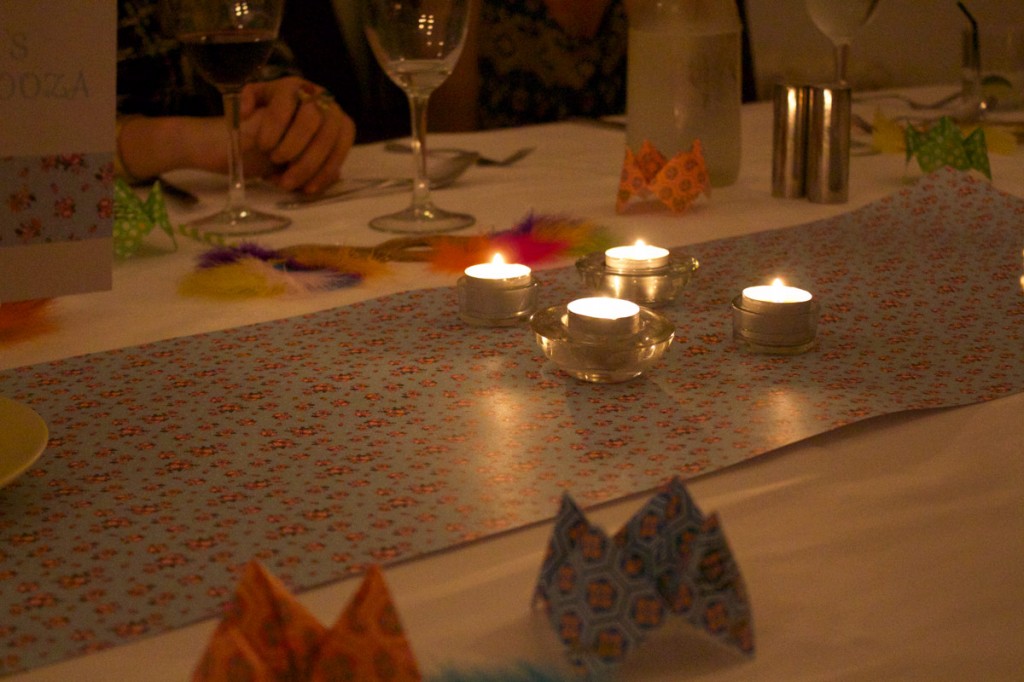
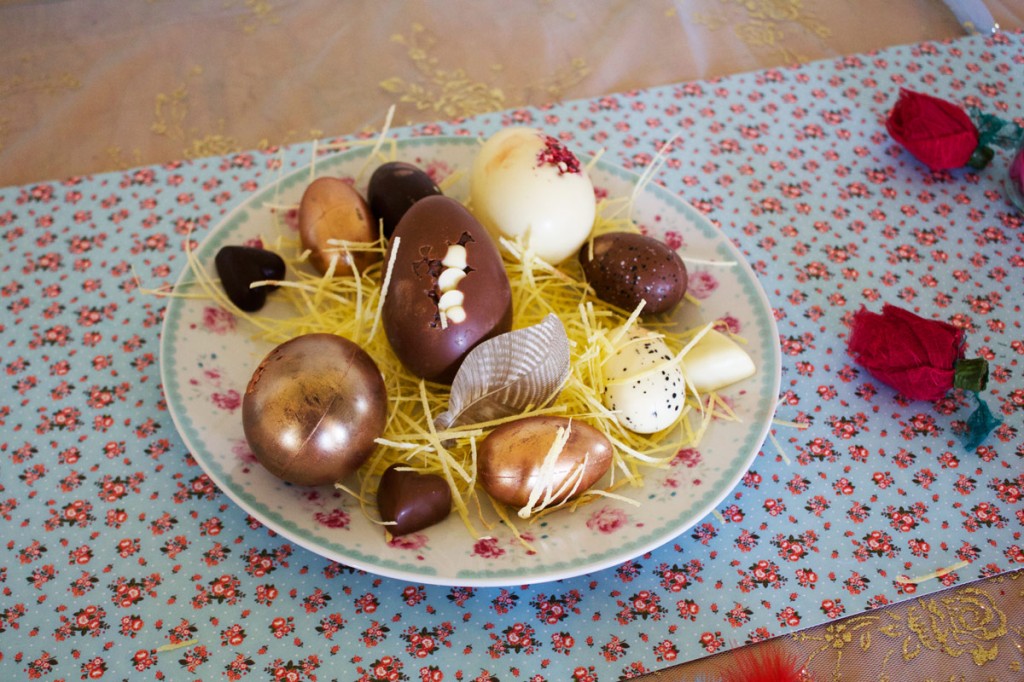
There was quite a few of us there so going so we took over their East Wing and decided to stage the whole party there and make our own fun. Meadow picnic, masquerade mask making, egg hunts, cocktails, paper fortune tellers, and pass the parcel (with a prize for the bride to be of a beautiful french lingerie trousseau for her honeymoon) was just some of the things we got up to! It was a packed day and one to remember!
Step 2 – name your hen party and come up with a colour scheme
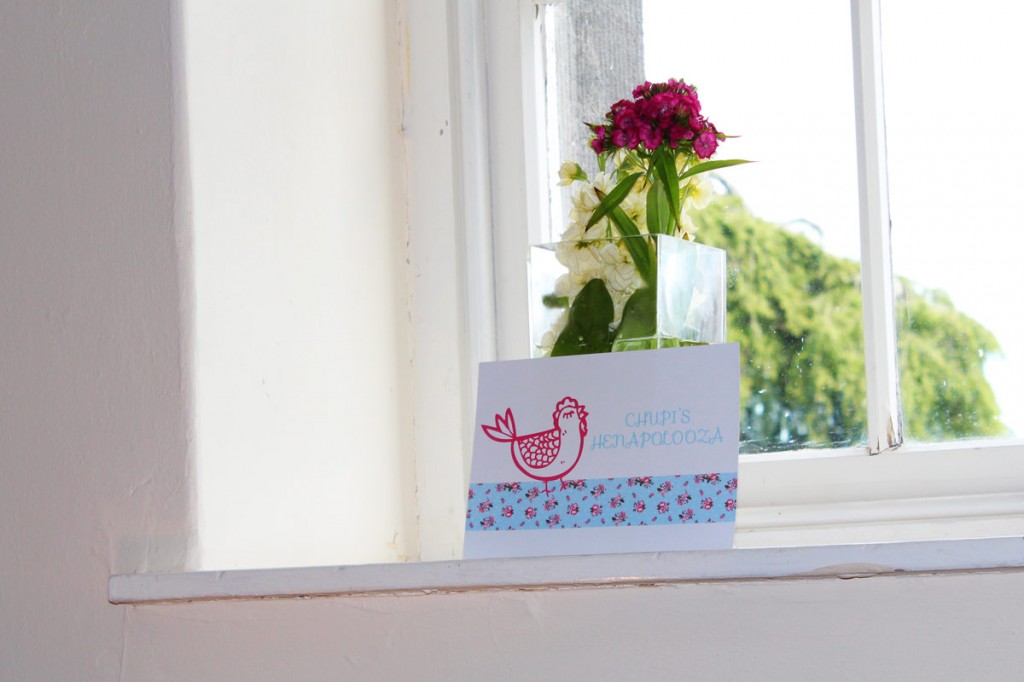
I always feel there’s a certain lack of direction and coordination when an event doesn’t have a name. Come up with something fun that will make people smile. We called ours a Henalpalooza. A palooza is “an all-out crazy party; partying at one place with a ton of people like there’s no tomorrow” so seemed ideal .
Likewise a colour scheme will give a sense of identity to the party. Even though people may not explicitly notice that its all colour coordinated, they will sense the perfect balance between the print and the rest of the room, and it will bring everything together.
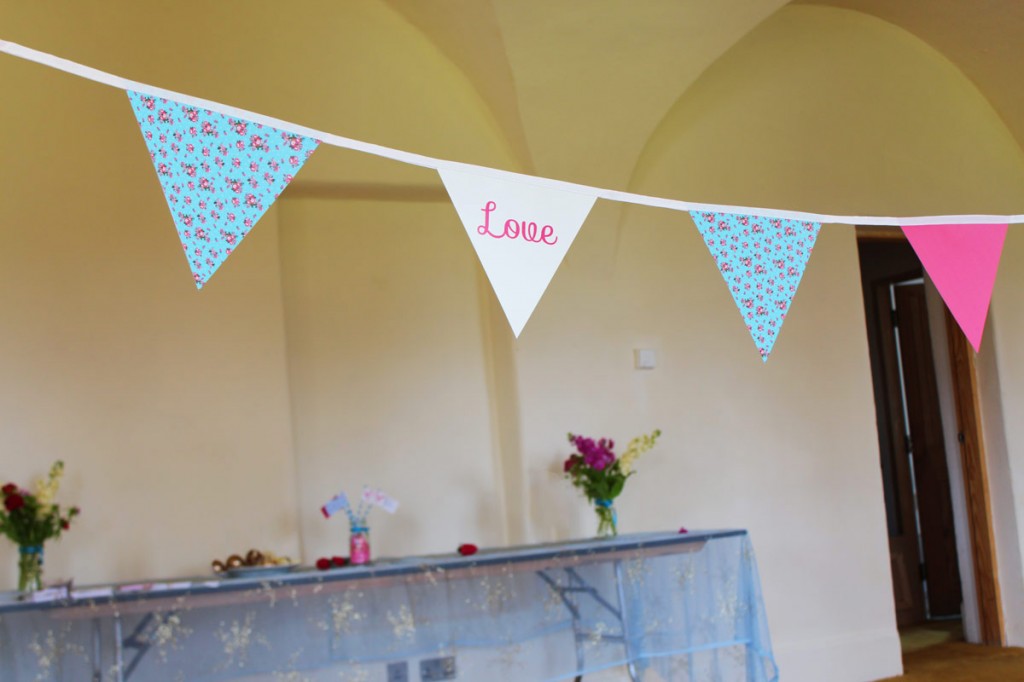
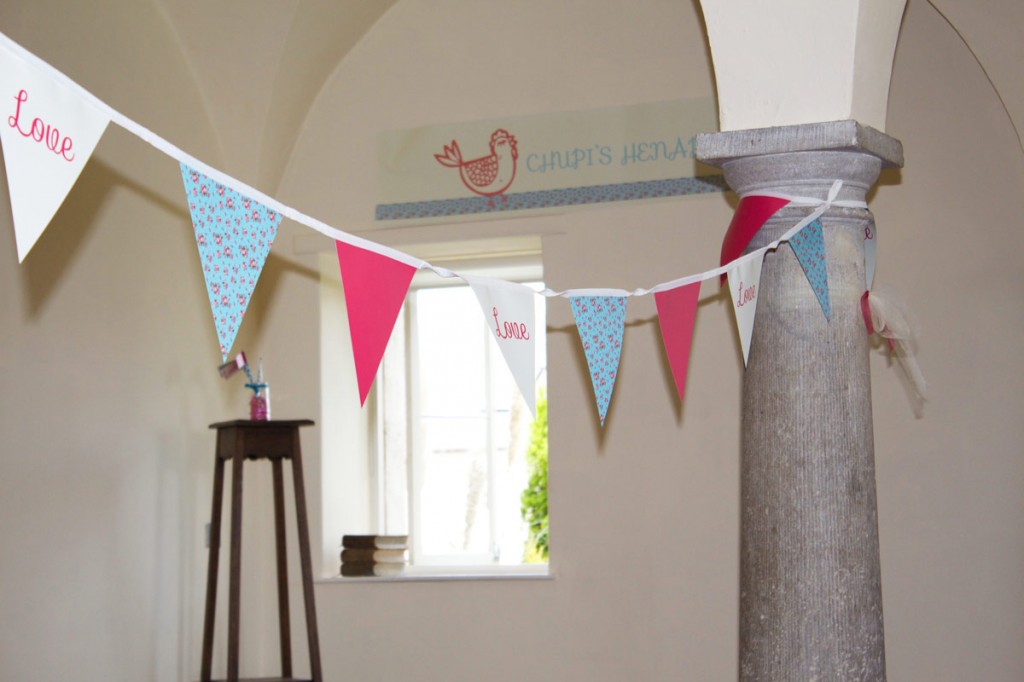
We picked a light cyan blue, a raspberry pink, and ivory white. All worked perfectly with each other, and subtly symbolised love and the coming together of a man and a woman.
Step 3 – decide on your wish list of what would make it look perfect
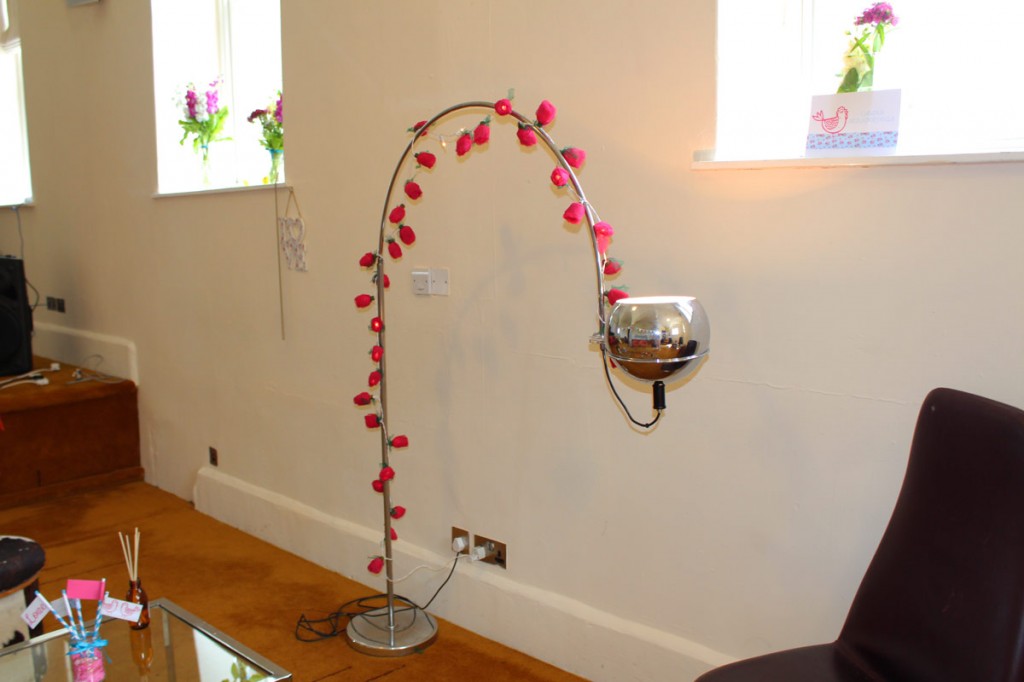
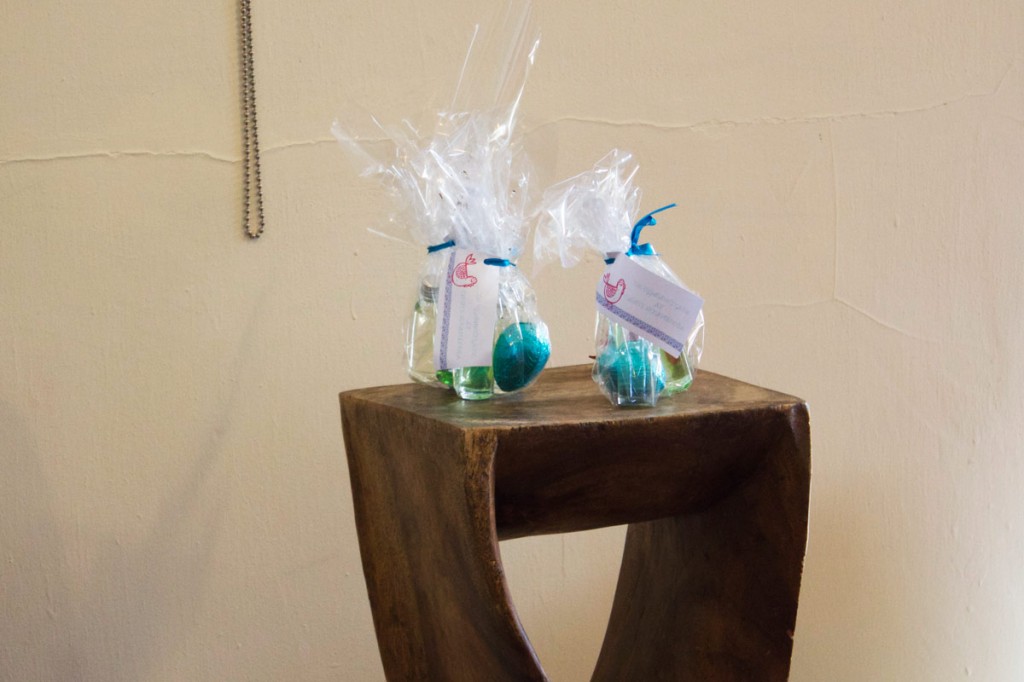
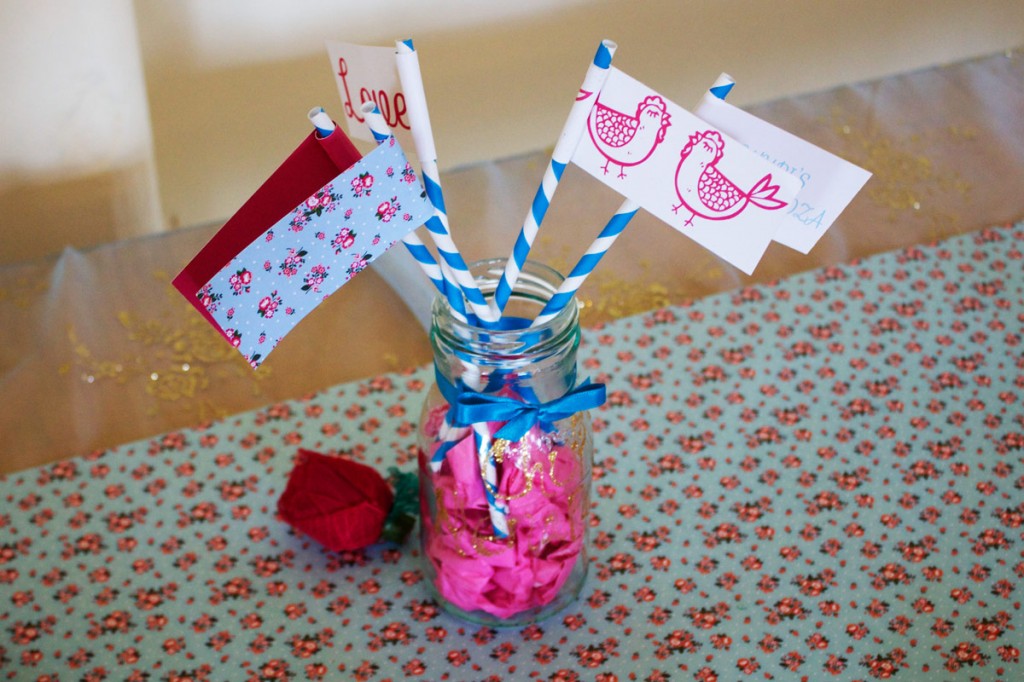
How much you get printed specially for the event, or buy from shops, will depend on you (or your friends) design skills and budget. I love graphic designing and this was a fun evening project for me so my to do list was quite large. We also decided to add a few cheap extras from Penneys, Dealz, and Ebay. We even used old jam jars that looked so cute with a bit of glitter on them!
What I decided on printing was:
Table Runner Banner
General Banner
Bunting
Labels
A5 Notes
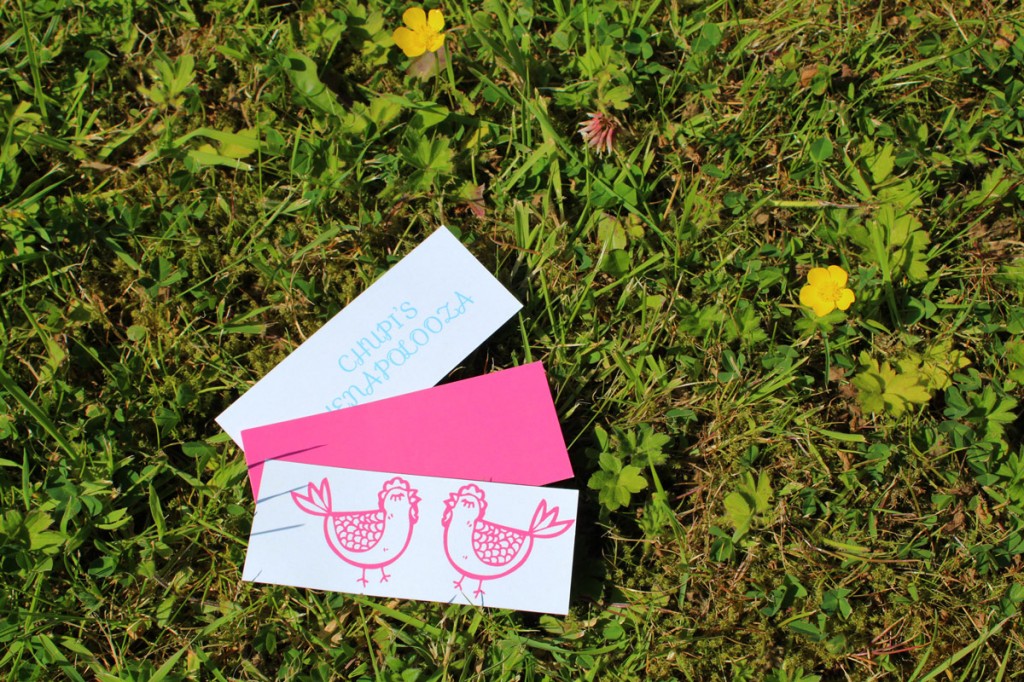
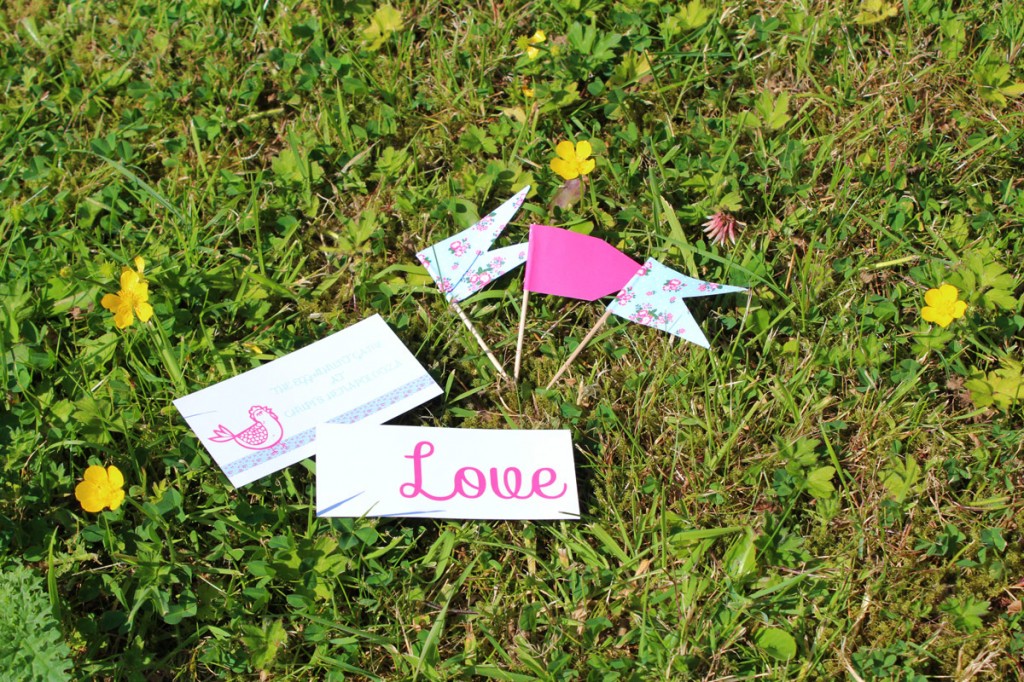
Mini Flags
Small Signs
Step 4 – start designing
I have varying degrees of Adobe skills. I’m good with Photoshop, Ok with InDesign and a complete beginning with Illustrator. If you’re not good with any of these why not ask a friend who is!
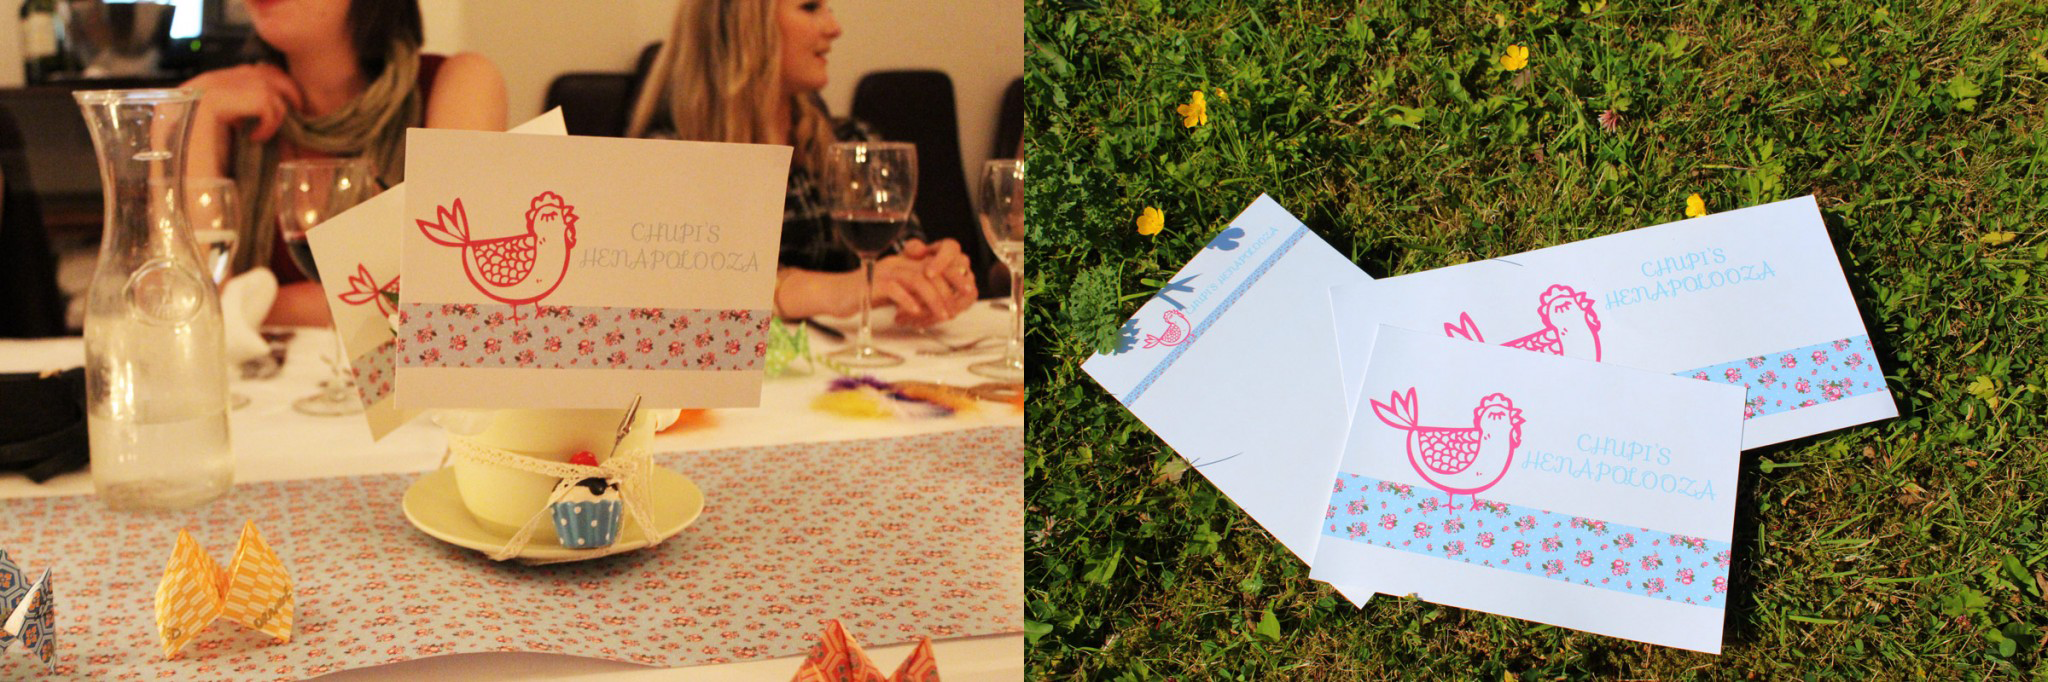
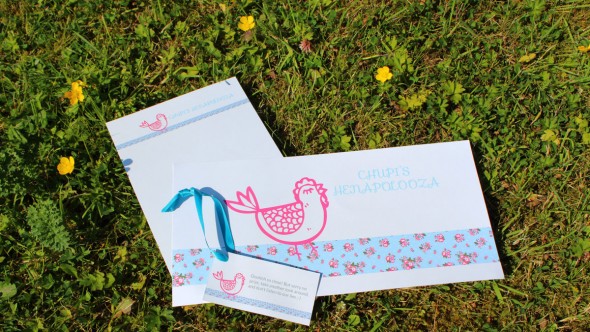
I started out with the main banner so that I had the design down and from that went on to complete the rest.
I found the flowers and hen on Shutterstock. Its a damn cool hen .The font is called Sofia and can be downloaded for free here. All of them I just adapted to my colour scheme.
After that the rest of the print just falls into place.
Step 5 – set up and party like no other
If you have an area like us to decorate you’ll want to give yourself a bit of time to get set up. Why not get a couple of the other girls to give a dig out?
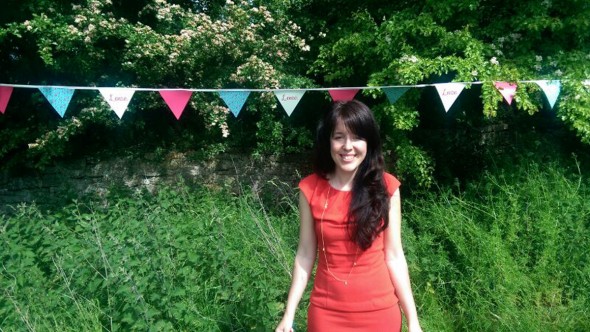
The girl of the day looked suitably stunning
Upcycling
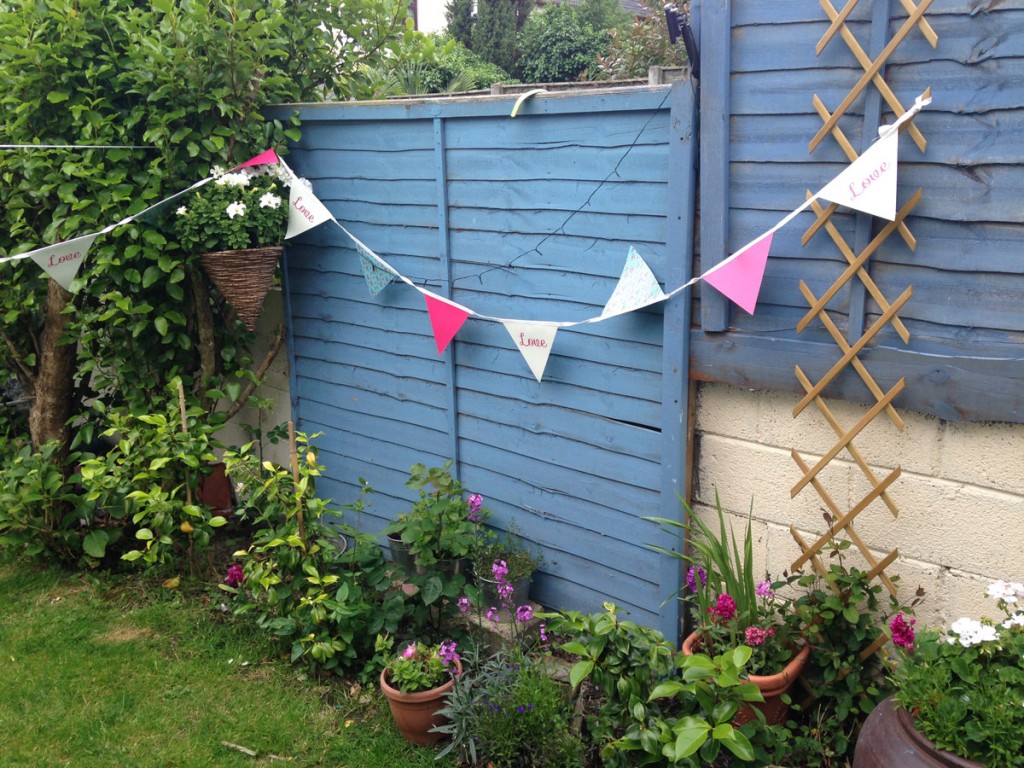
And when you’re finished with the bunting you can hang it up in your garden. One of my lovely friends sent me this pic. Gorgeous!
I definitely think your venue is one of the most important choices when you’re planning any event. Getting a place that is naturally amazing will make your job so much easier. After that everything you do is a bonus and it will have the right backdrop to shine. We chose the beautiful Bellinter House with all its old-world glamor and wonderful grounds.
There was quite a few of us there so going so we took over their East Wing and decided to stage the whole party there and make our own fun. Meadow picnic, masquerade mask making, egg hunts, cocktails, paper fortune tellers, and pass the parcel (with a prize for the bride to be of a beautiful french lingerie trousseau for her honeymoon) was just some of the things we got up to! It was a packed day and one to remember!
Step 2 – name your hen party and come up with a colour scheme
I always feel there’s a certain lack of direction and coordination when an event doesn’t have a name. Come up with something fun that will make people smile. We called ours a Henalpalooza. A palooza is “an all-out crazy party; partying at one place with a ton of people like there’s no tomorrow” so seemed ideal .
Likewise a colour scheme will give a sense of identity to the party. Even though people may not explicitly notice that its all colour coordinated, they will sense the perfect balance between the print and the rest of the room, and it will bring everything together.
We picked a light cyan blue, a raspberry pink, and ivory white. All worked perfectly with each other, and subtly symbolised love and the coming together of a man and a woman.
Step 3 – decide on your wish list of what would make it look perfect
How much you get printed specially for the event, or buy from shops, will depend on you (or your friends) design skills and budget. I love graphic designing and this was a fun evening project for me so my to do list was quite large. We also decided to add a few cheap extras from Penneys, Dealz, and Ebay. We even used old jam jars that looked so cute with a bit of glitter on them!
What I decided on printing was:
Table Runner Banner
General Banner
Bunting
Labels
A5 Notes
Mini Flags
Small Signs
Step 4 – start designing
I have varying degrees of Adobe skills. I’m good with Photoshop, Ok with InDesign and a complete beginning with Illustrator. If you’re not good with any of these why not ask a friend who is!
I started out with the main banner so that I had the design down and from that went on to complete the rest.
I found the flowers and hen on Shutterstock. Its a damn cool hen .The font is called Sofia and can be downloaded for free here. All of them I just adapted to my colour scheme.
After that the rest of the print just falls into place.
Step 5 – set up and party like no other
If you have an area like us to decorate you’ll want to give yourself a bit of time to get set up. Why not get a couple of the other girls to give a dig out?
The girl of the day looked suitably stunning
Upcycling
And when you’re finished with the bunting you can hang it up in your garden. One of my lovely friends sent me this pic. Gorgeous!
Share this post


Let's talk!